Tabletop Robot
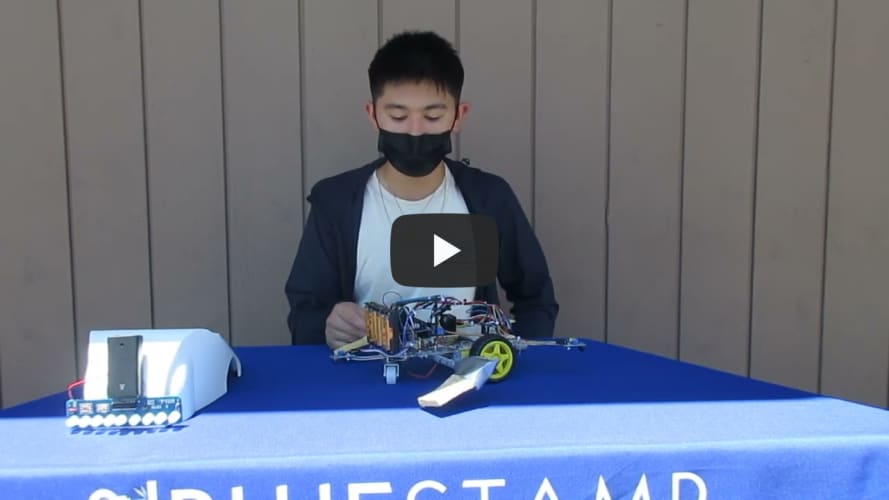
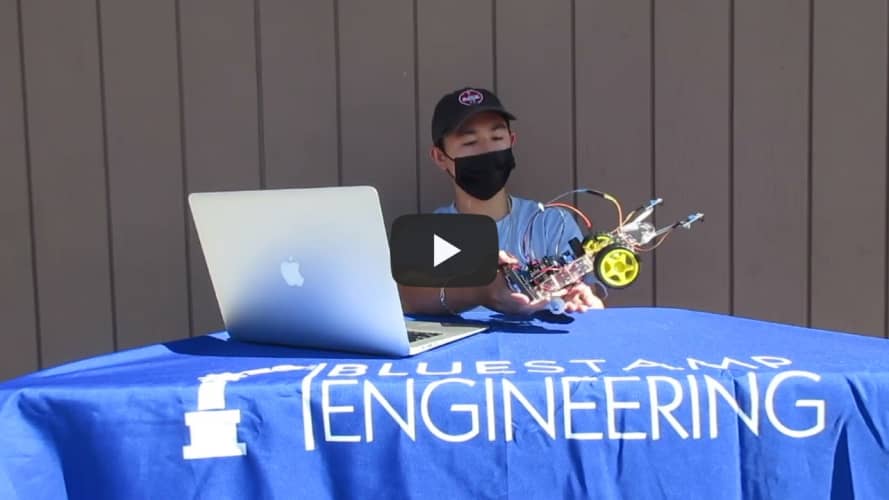
The tabletop robot consists of a robot on three wheels with two sensors on its front. The robot will be programmed to sense when it is going over the edge of the table. The robot will then back up and change directions. I added a back sensor and a 3D printed frame to my robot.
| Engineer | School | Area of Interest | Grade |
|---|---|---|---|
| Derek | Mountain View Highschool | Mechanical Engineering | Incoming Junior |
Final Milestone
My final milestone was adding another ir sensor on the back of the robot so it could sense if it was going over the edge when backing up. I also installed four LED’s and a breadboard to house all the wiring and resistors. I programmed the LED’s so that when the robot is detecting the table, the white LED’s stay on. When the robot is over the edge of the table, the yellow LED’s will turn on. I also went through eight different CAD designs for a frame/shell that I did mount on top of the robot. I struggled initially with the CAD platformm I was using, Fusion 360. I also hit a lot of walls with wiring the LED’s. To stay productive while waiting for the parts of my frame to print, I designed sponge holders that were attached to the robot out of paper straws. The prototype sponge holders showed promise, but I had to use other materials for the holder to work. Overall, the easiest process for me was adding the back ir sensor to the robot because I’d already done the same with the two front sensors.
Second Milestone
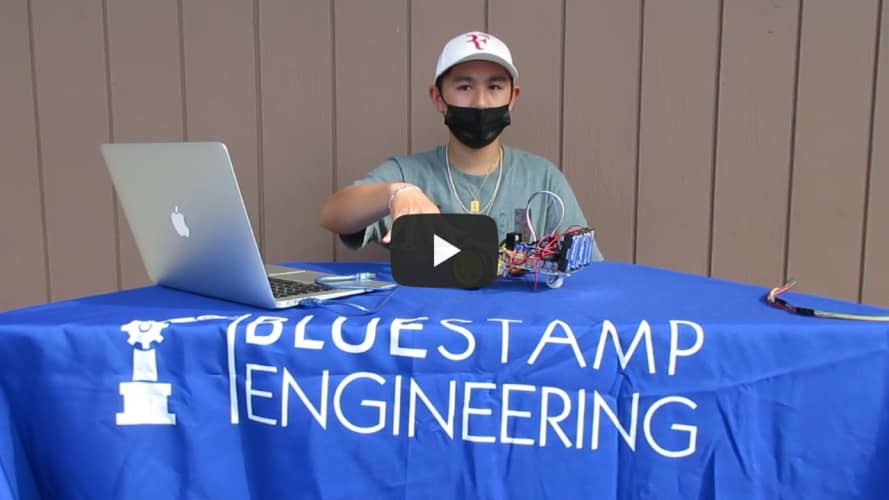
My second milestone was finishing up my project. I finished the programming for my ir sensors and fixed up my issue with the robot’s back wheel. An instructor helped me raise up the wheel using spacers. I programmed the sensors to tell the robot to move backward and turn left when it did not detect the table. Otherwise, if the sensor did detect the table, the robot would continue to move forward. A lot of my wires popped again so I had to reinstall them. I ziptied the wires so that they wouldn’t get caught on anything, such as the wheels.
First Milestone
My first milestone was putting together all my hardware and programming my motors. I installed my arduino and the rest of my circuitry, as well as my motors. I had the most fun with this process because I’m pretty big on mechanical engineering. I struggled the most, however, with the electrical engineering aspect of my robot. The wiring was really difficult and I hit a lot of blocks. I also had to brainstorm where to install my battery box because the box I received didn’t fit in the area of space that was designated for it in the instructions. Afterwards, I programmed my motors with arduino.
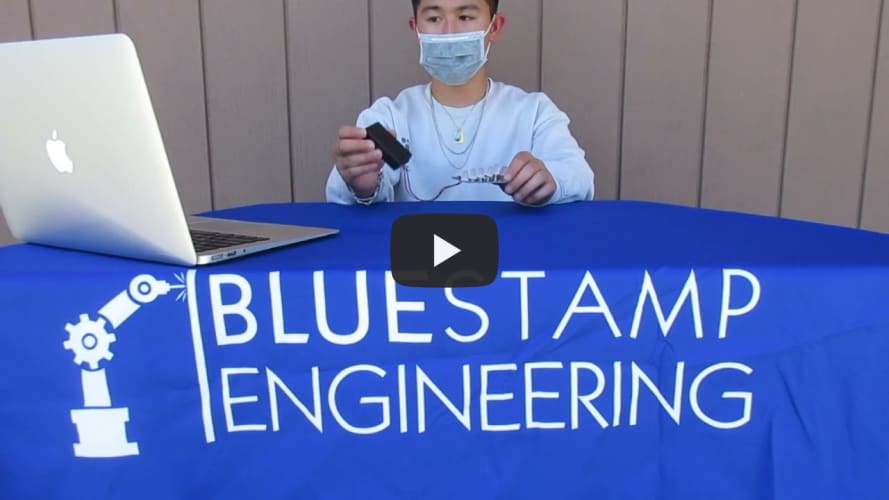
Starter Project; Larson Scanner
On my first day, I was almost able to finish my starter project but I accidentally soldered my microcontroller wrong so I had to restart. But I was still able to make some progress in my project once I started over. I learned to pay more attention and be more diligent when soldering. I also learned to not rush as much. On the second day, I finished my starter project entirely. I did the optional challenge and soldered my LEDs at different heights. I Learned to be more patient and to take my time when working.


