Glove-Controlled Robotic Hand
My project is a glove-controlled robotic hand, which is a hand that takes information from a glove covered in flex sensors to move. It is intended to be able to hold objects and display musical techniques.

| Engineer | School | Area of Interest | Grade |
|---|---|---|---|
| Katherine | Monta Vista High School | Electrical Engineering | Incoming Junior |

Bonus Milestone
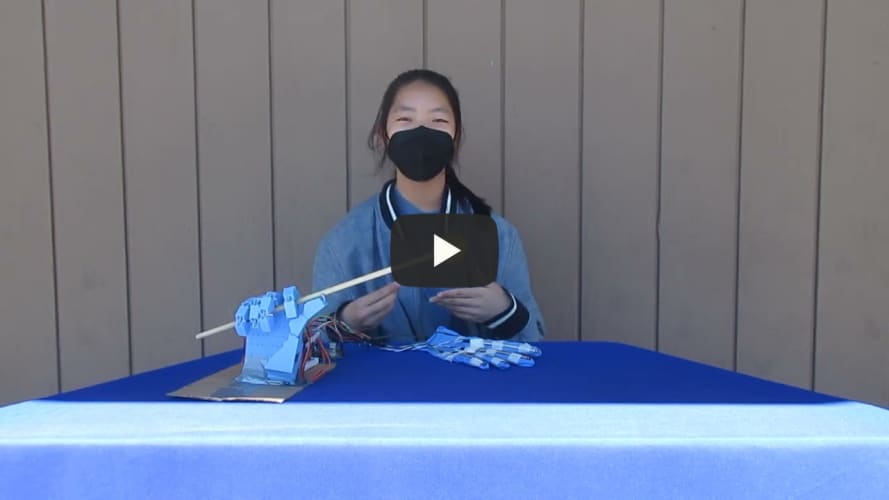
As a final add-on, I added a wrist joint. I wanted to do this to make my design more unique and enable my hand to hit surfaces, and, by extension, play music (through the hitting of surfaces).
To add the joint, I implemented an extra 3D part I had designed that acted as part of the forearm. At first, I treated the wrist joint like the finger joints, with a spring and string in the middle. However, I found that this didn't work, as the spring couldn't hold up the weight of the rest of the hand and pulling the string wouldn't bend the wrist. Instead, I used strips of elastic, as they could hold the hand to the forearm and stretch when the wrist was bent. Instead of the string being inside the forearm part and running from the top of the part to the bottom, I placed it outside the part and had it run from the base of the thumb to the cardboard the hand is placed on. I found that this worked much better and allowed the hand to bend at the wrist and go back to its upright position.
Another issue I ran into was that my servo was too weak to pull the hand all the way down. The servo could only move a tiny bit, and the wrist would not bend. To solve this, I secured the servo to the cardboard base with hot glue and duct tape, threaded elastic through the servo horn, and stuck that elastic to the board as well. This made it so that there was a force drawing the servo to the cardboard base, pulling the servo away from the hand. This caused the hand to then move with the servo, bending the hand at the wrist.
Next steps are to increase the range of the wrist, likely by using a stronger motor, and adding grips on the fingerpads so that held items can't slip out easily.
Hand With Wrist

Hand With Wrist, Wrist Unbent

Hand With Wrist, Wrist Bent

Final Milestone
My third milestone was assembling my 3D parts. I designed these parts using TinkerCAD, a 3D modeling tool, and they were printed using a 3D printer. The 3D printer prints parts by melting plastic wires and using it to draw a flat shape on a surface. When this shape is drawn, the nozzle moves up a tiny bit and draws another shape on top of the other shape. This process repeats until the whole structure is done.
Assembling the parts involved some trial and error because the parts I designed didn’t fit together perfectly. Some parts of the fingers got stuck because there wasn’t enough space between them, so I filed them down to fit better. They also got stuck because the fingers bent backwards instead of forwards, so I adjusted the parts using bits of toothpicks to keep them lined up. Since my design had the servos so close to one another, I had difficulty with the servo horns rotating into each other. To fix this, I moved the servos away from each other and reversed the direction some of the servos rotated. To get the hand to be able to hold things, I calibrated the pinky and ring fingers to touch the palm when bent all the way. This makes it so that one end of an object can be held between the thumb and index finger and the other end can be held between the ring and pinky fingers and the palm, holding it in place.
I enjoyed seeing the project come together, and having a hand that moves cleanly after having to deal with my styrofoam prototype for two weeks. While there are more things I could do, like adding a wrist joint and making the sensitivity between the fingers and the sensors more accurate, I am proud of what I have accomplished so far and am looking forward to making other projects with the skills I have gained.
Second Milestone
My second milestone was adding a glove covered in flex sensors and making it compatible with my prototype hand. Flex sensors are plastic strips with layers of carbon that conduct electricity. When the sensor is bent, the carbon is stretched and increases the resistance of the current going through the sensor. This information is sent to the Arduino, and my code turns that information into servo angles so that, when the sensor is bent, the servos will move.
I liked learning more about coding, including how to format if else statements and printing to the serial monitor, which allowed me to analyze the information that was sent from the flex sensors. I struggled with coding and wiring the flex sensors, as I mixed up the pins of the flex sensors and wired them to the wrong ends of the power source, and labeled the sensors as outputs rather than inputs. This has helped me remember to double-check the way I put parts into the breadboard and understand that sensors are inputs because they give information to the system rather than take it. I also struggled because my prototype hand is not precise and moves sloppily. I have completed 3D designs so that I can have a more refined hand for my next milestone.
First Milestone
My first milestone was constructing the hand out of styrofoam, connecting the servos, and coding it so that it would move. Essentially, each finger has a spring and string running through it. When the string is pulled, the finger bends, and when the string is released, the spring pulls the finger up to its original position. The servos are used to pull on the string. While I was able to eventually construct a hand, it was a very messy process and the parts don't move as precisely as I would have liked. I am now planning to design 3D printed parts to use instead for the final version of my project. Until now, I have had very little coding and circuit experience, so there was a learning curve with wiring and coding the servos. There is a lot of info I have run into that I have yet to understand, but I managed to make the fingers appear to move at the same time through moving each servo after the other at small, fast intervals.
I liked learning how the breadboard worked and enjoyed experimenting with different layouts to determine what would work the best. I struggled with assembling the hand. The parts are primarily held together by duct tape and aren't able to withstand the force from the servos pulling on the string, so I had to re-tape frequently. I also struggled with coding, but I did some research on what different functions did and understand how my code works.
Starter Project
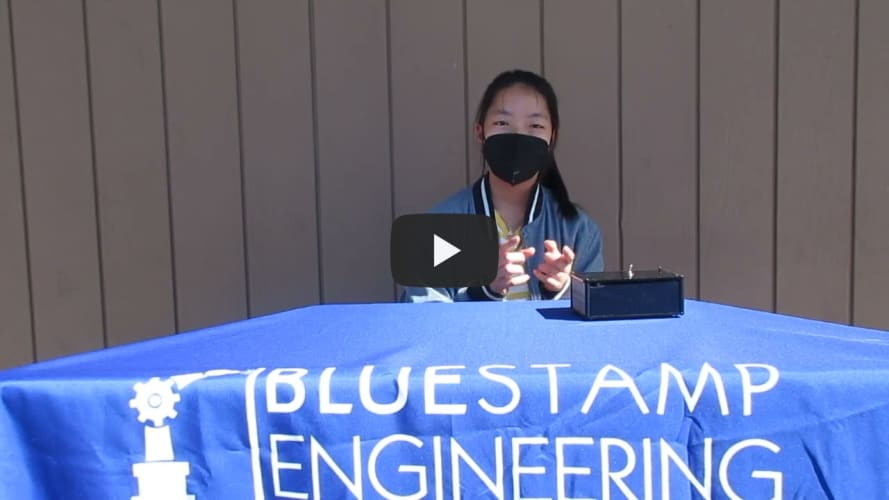
My starter project was the Useless Machine. When the switch on the outside of the box is flipped, it powers a motor that is attached to an arm which moves to flip the switch in the opposite direction, causing the motor to spin in the opposite direction, bringing the arm back to its original position. The motor includes a piece of metal in the middle coiled by wire, which turns it into a magnet when electricity from the batteries runs through it. This magnet is surrounded by another magnet, and each of these magnets has a north pole on one side and a south pole on the other side. When the north side of one magnet meets the north side of the other magnet, the alike forces repel each other, causing the inner magnet to move a half rotation. The motor is able to move another half rotation when electromagnetic energy causes the charges of the poles of the outer magnet to switch, which places the north side of one magnet near the north side of the other magnet, causing the inner magnet to move another half rotation. At this point, the motor has spun a full rotation. This process repeats, allowing the motor to spin.
This project helped me to learn how to sodder, but I had difficulties along the way. While soddering, it was taking me a long time to melt the sodder. Later I realized that I had forgotten to tin the tip of my sodder iron, which was slowing me down and causing me to lose efficiency while soddering. When I started tinning the tip of my iron, I found that the process went by much faster and made mental notes to periodically re-tin my tip when I was soddering.
Gallery
→ Starter Project *click here*
Useless Machine

→ Main Project *click here*
Side View

Angry Hand ✂️

Musically Gifted Hand 🎹

Prototype Hand

Circuit Diagram

Circuit Schematic

Hand Render

Back

Hand With Wrist With Mallet

Hand With Wrist With Mallet, Wrist Bent

References
Project Idea 1
Flex Sensor Reference Code 2