Gesture Controlled Lock
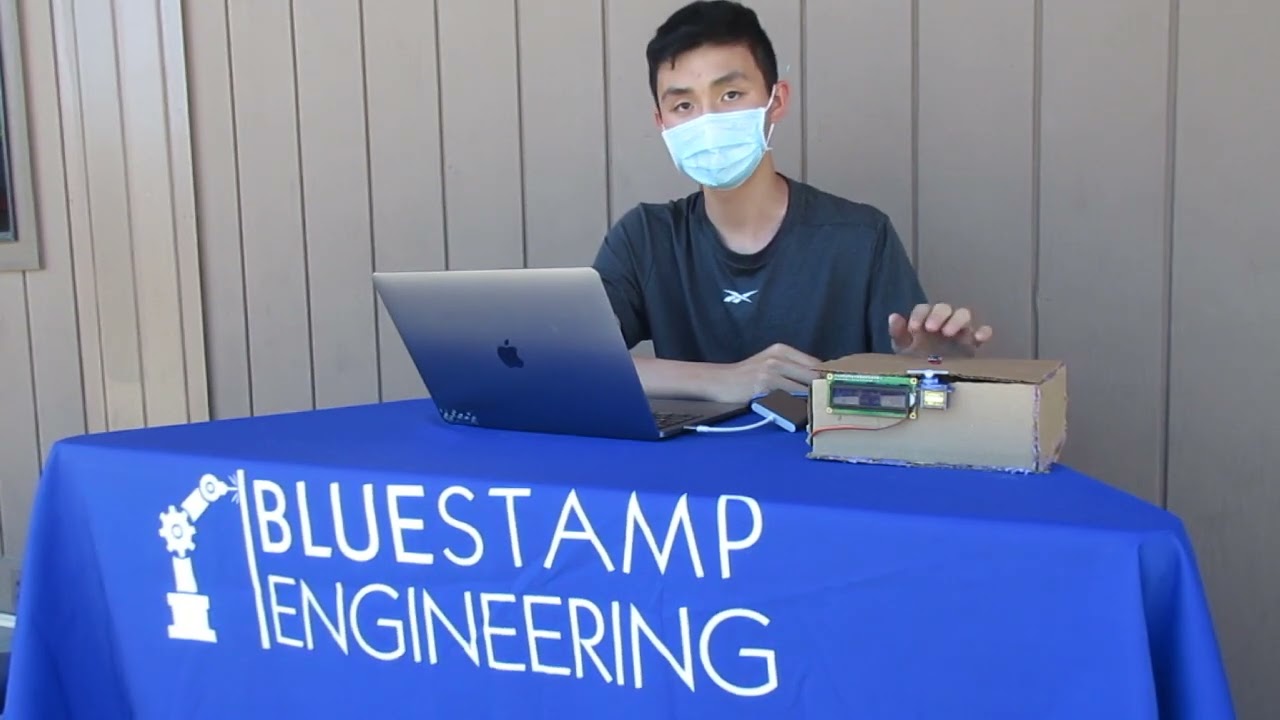
I am making a gesture controlled lock that responds using a SparkFun Sensor, and a servo to rotate the lock. The lock has a specific password, a sequence of gestures, that the sensor must receive in order to unlock it. There is also a display to tell the user whether or not the password is correct, and what to do next.
| Engineer | School | Area of Interest | Grade |
|---|---|---|---|
| Max | The Harker School | Electrical Engineering | Incoming Sophmore |

Final Milestone
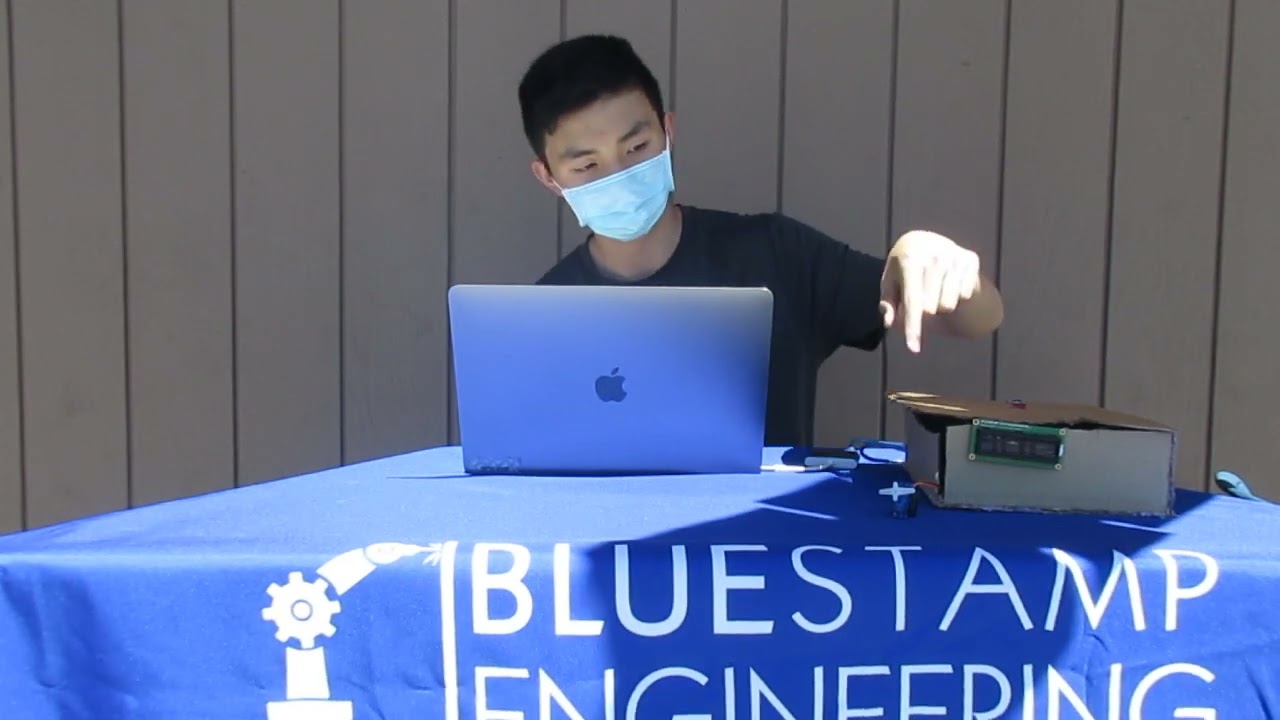
For my final milestone, I decided to make multiple timers for my project, which tell me how much time I took to open the lock and do the password. At any point in the password sequence, if I exceed a time limit of 30 seconds, the program will force me to restart from the beginning, and that is outputed on the LCD. I used a reset function that I searched up, which allowed me to restart the entire program when I hit the time limit. This timer gives an added challenge to opening the lock. To make the other timer, I experimented with examples in Arduino, and I figured out how to make multiple variables and update them in order to make the timer accurate. I also modified my project into a safe, and I decided to my attach my servo to the front here to act as a lock. All of my modifications have made the lock more challenging and harder to break through.
Inside of my safe:

Second Milestone
For my second milestone, I planned to get all the software and the code in my project working, so that my sensor could accurately record the gestures and the rest of my circuit would respond accurately. I have an array of gestures that acts as the password, and then each gesture my sensor receives is compared to the current gesture or step of the password. During each step, my LCD outputs information about the state of my program, and my RGB cathode turns red or green based on the result. I enjoyed the process of coding to figure out how to make all the components of my project work correctly. I also had to troubloeshoot numerous issues involving my gesture sensor, but the serial monitor that Arduino provides really helped me to figure out what was happening and how to fix my issues. For a quick demonstration, my first gesture is right. I did that right, so I can advance to the next gesture in the password. Lets say I do this one wrong, then my LCD will tell me to return to the main menu, and I will have to restart the whole password. After completing it correctly, the servo is unlocked, and then it automatically closes again in about 15 seconds.

First Milestone
For my first milestone, I had planned to get the basic components of my project working, and my servo to be able to move. To acheive this, I had to search up tutorials about the different parts of my project and experiment with them. Fortunately, Arduino provided example programs to help me test individual parts of my circuit, which helped me to troubleshoot and figure out which parts of my circuit were malfunctioning. I first got the RGB cathode working, which was useful in getting the scanner set up and working. After I figured out the differences between the power, ground, and signal wires, my . The schematic that I based my design off of had some differences, so I had to adjust my design. I had some trouble with my LCD, but I managed to figure out how to get it functional using another Arduino provided example, which allowed me to isolate the LCD and print “Hello World” to the screen. Once I had the LCD working, it greatly helped me in debugging the rest of my project by printing out the state of my sensor. My sensor caused me a lot of trouble and bugs, but I eventually figured out that the problem was with the connection of the wires, and soldering them fixed it.

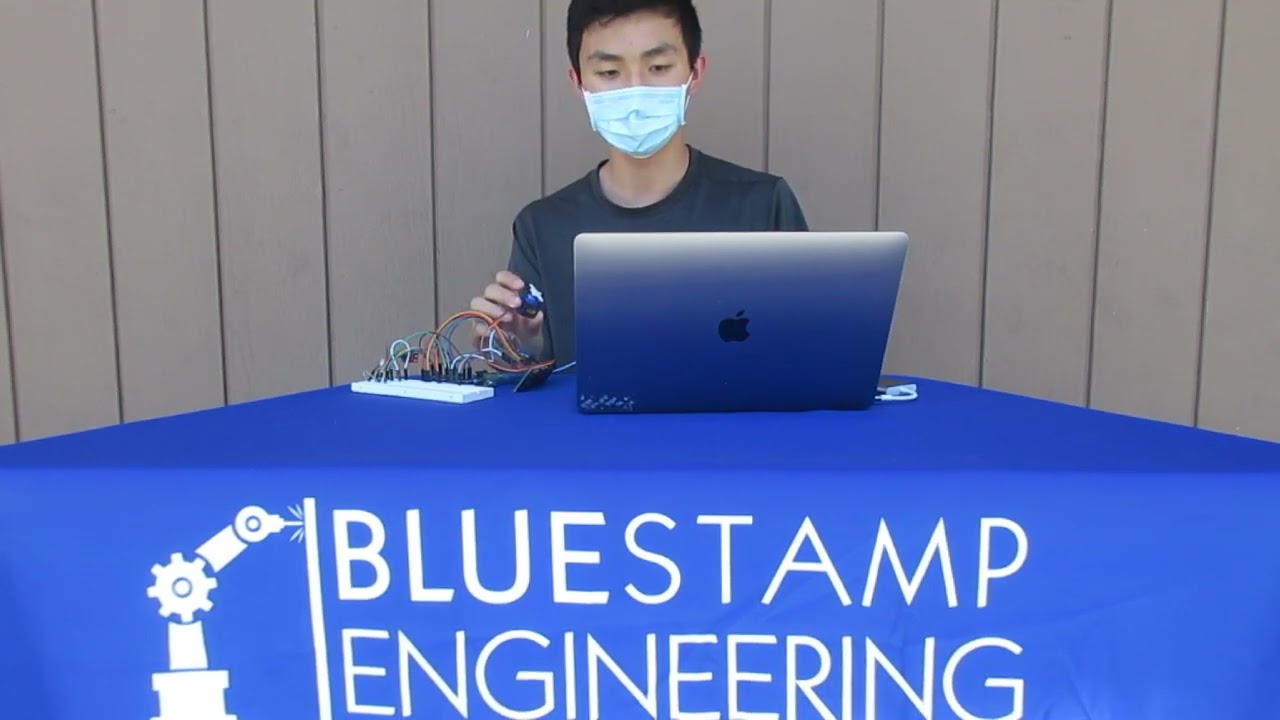
Customized Arduino Circuit
For my Arduino circuit, I chose to use a button as my input, and an LED as my output. In the Arduino app, I coded it so that the LED would light up whenever I pressed or held the button. I had some trouble with the materials and using a protoshield at first, but I learned how to solder properly and desoldering as well. Eventually, I switched to a breadboard, which was more convenient and user-friendly.