Smart Mirror
The Smart Mirror is a mirror that can show the user useful information such as the time, date, weather, news, and important reminders at a glance. It utilizes a 2 way reflective acrylic to show the user’s reflection and the monitor screen in the same area. This allows the user to view their reflection along with useful information simultaneously, making it more convienent for the user when getting ready.
| Engineer | School | Area of Interest | Grade |
|---|---|---|---|
| William | Hillsdale High School | Mechanical Engineering | Incoming Senior |

Final Milestone
For my third milestone, I created some modifications for my smart mirror. For my first modification, I created a mount that allows the smart mirror to be mounted on a wall. I used a push hand saw to cut a large plank of wood into 2 small blocks of wood and 1 long plank of wood to create the mount. I then used wood glue to glue the wooden blocks to the ends of the long plank, creating the mount. I then used a file and a dremmel to shave excess wood off the ends of the plank, as the mount was slightly too large and could not fit into my frame. For my second modification, I added LED lights around the glass of the Smart Mirror to make the mirror more flashy. I cut the LED lights into a long strip. However, I discovered that 1 strip was not enough to cover the entire length of the smart mirror. To fix this problem, I soldered two strips of LED lights together, then attached the LED lights to the smart mirror. I enjoyed learning how to cut wood using a dremmel. And I struggled with soldering the LED light strips to each other, as the LED strips were flimsy and moved a lot. However, with persistence, I was finally able to solder them together.
Second Milestone
For my second milestone, I completed the hardware portion of the Smart Mirror. I used geometry to determine the measurements needed to create the frame for the smart mirror. I used a push hand saw to cut large planks of wood into smaller pieces. I then used an electrical drill to drill holes into the wood, then used an impact drill to drill screws into the holes to assemble the frame. I also used wood glue to hold smaller pieces of wood together. After I finished creating the frame, I then stained it using brown wood stain to make the smart mirror look better. I used a screwdriver to take the stand off of the monitor so it could fit into the frame, then installed a backboard on the monitor. Then, I started working on the glass of the smart mirror. The glass consists of two layers of acrylic, a tough, clear acrylic and a much thinner, fragile sheet of 2-way reflective acrylic. The clear acrylic would reduce the warping of the mirror image by holding the reflective acrylic between it and the monitor screen. I first cut the reflective sheet of acrylic into the correct size. I then placed the reflective acrylic and clear acrylic on top of the monitor screen, then taped them together. I placed the monitor into the frame and used drills to drill screws into the backboard to hold the monitor in place. I then connected the Raspberry Pi to the monitor to finish the Smart Mirror. I enjoyed learning how to use a push saw to cut large planks of wood. I struggled with using the drills at first, as I had trouble accurately drilling in the screws. However, with more practice, I was able to improve on using the drill.


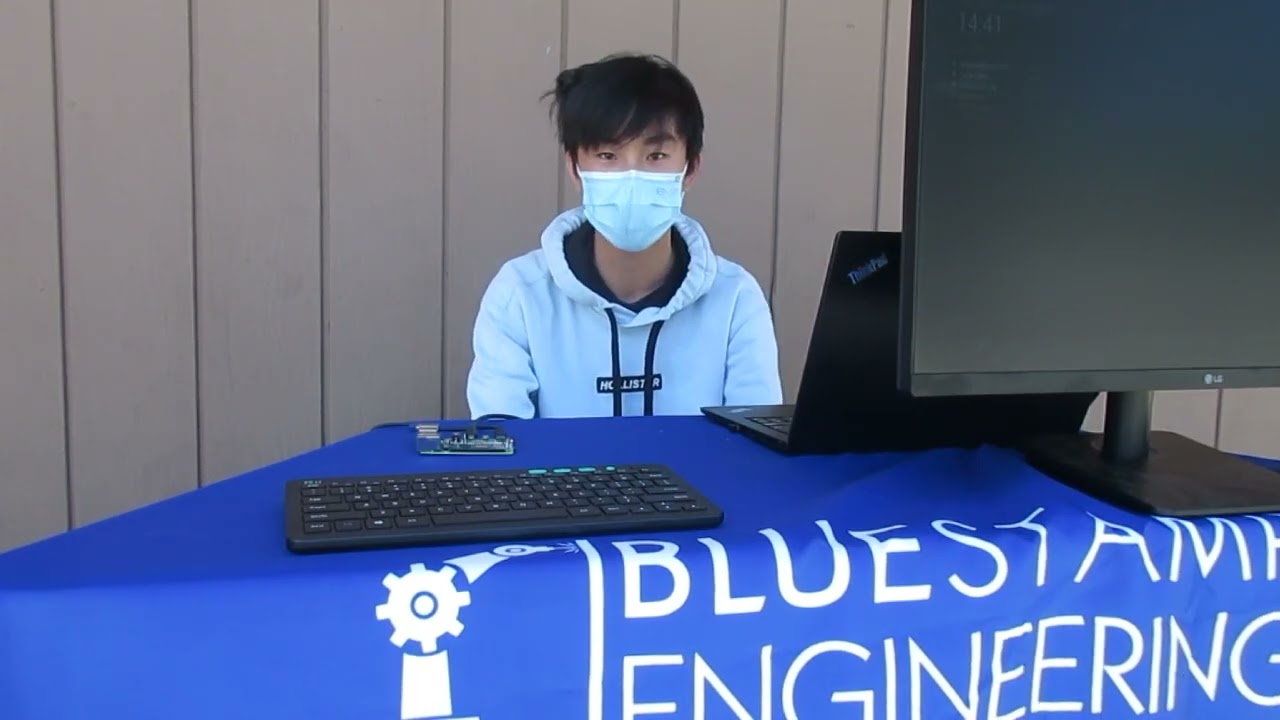
First Milestone
For my first milestone, I have completed the software portion of the Smart Mirror. I first set up the Raspberry Pi OS by connecting a Raspberry Pi computer to a monitor. The computer contains a SD card that will save my data while working on the software. I then used Linux terminal and Javascript to set up the interface and the modules for the Smart Mirror. The modules allow the Smart Mirror to fufill its function of showing the user useful information such as the time, weather, news, and the song the user is playing. To make the weather module, I had to obtain a weather API key and a location ID, allowing me to show the weather in a specific city on the Mirror. For the song module, I had to obtain a Spotify API, a client ID, a client secret, an access token, and a refresh token. I was able to get these by creating a Spotify developer account. I enjoyed learning how to use Linux terminal and learning more about JavaScript, which I found very interesting. I strugged with installing some of the modules such as the Spotify module at first, but I eventually managed to install it. I also strugged with installing the weather API at first due to it being outdated, but I managed to find another weather API to use for my project. My next steps are to finish the hardware portion of the Smart Mirror, such as building the frame of the mirror out of wood planks and attaching the Raspberry Pi computer to it.
Starter Project
For my starter project, I did the TV-B-Gone. The TV-B-Gone consists of IR LEDs, transistors, capacitors, resistors, a microcontroller, a green LED and a button to replicate a signal that a tv remote sends to turn the tv off. The IR LEDs are used to send a infrared light signal to the TV, turning it off. The green LED flashes when the circuit is working and does not flash when the circuit does not work, making it very useful for debugging. I enjoyed learning how to solder the parts to the circuit board. I struggled with soldering the wire to the circuit board, as the wire kept falling off the circuit. However, with persistance, I was finally able to solder the wires to the circuit board.